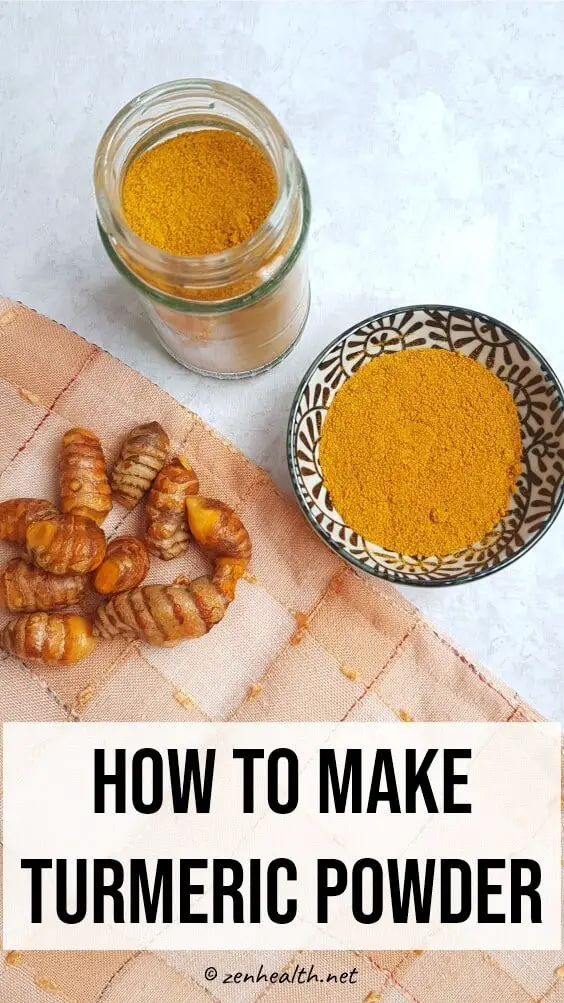
How to Make Turmeric Powder: The Ultimate Guide
Want to know how to make turmeric powder?
It’s not as hard as you think.
With some planning and patience, you can make your own fresh, organic turmeric powder and taste how flavorful it is compared to the store-bought stuff.
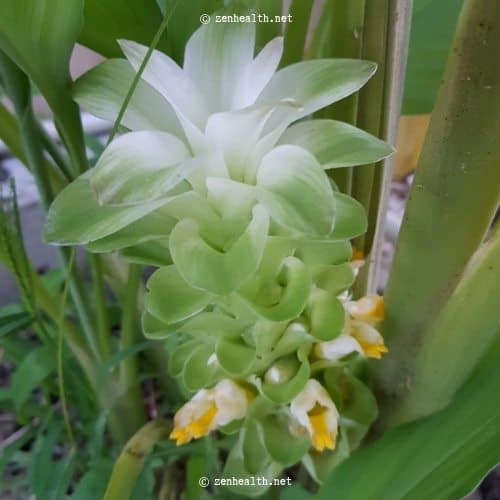
Did you know turmeric has flowers? They are simple and beautiful.
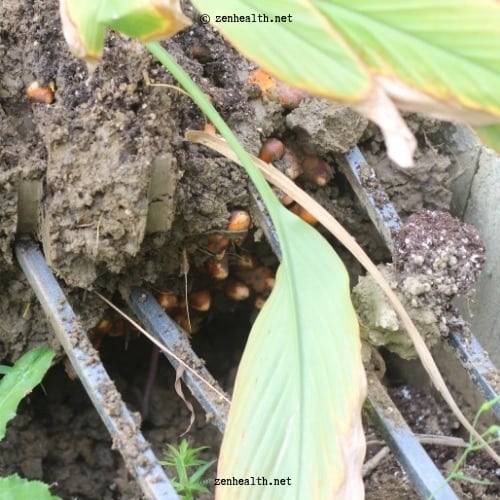
Harvesting Turmeric Rhizomes
A couple months after the flowers appear, the plant matures. The leaves turn brown and fall and the rhizomes move upward. When they are more visible, it’s time to dig and harvest them.
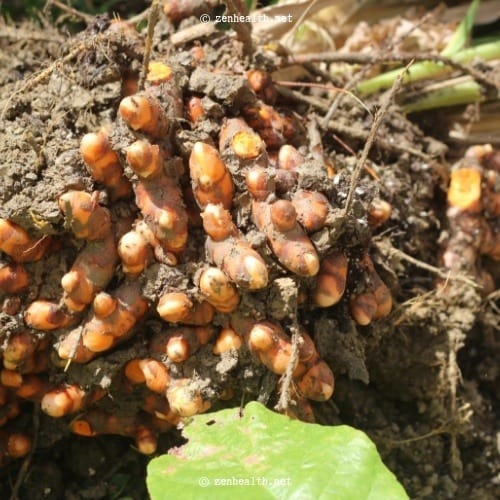

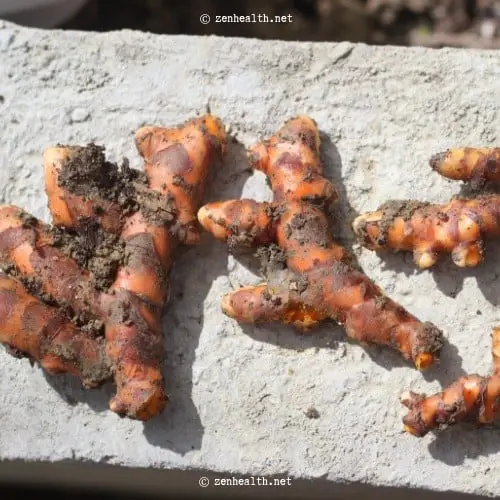

Look at that stunning color. That’s 100% organic turmeric right there.
How to Make Turmeric Powder
Before I get into it, I should make one thing clear. You don’t need freshly harvested turmeric to make the powder. You can use store-bought rhizomes. The store-bought turmeric may have less moisture than fresh turmeric and should dry faster.
Ingredients and Equipment
To make the powder, you will need:
- turmeric rhizomes
- food grade gloves
- small knife or vegetable peeler
- grater
- tray
- coffee grinder (or food processor)
- sieve
- stiff bristle veggie brush (optional)
Turmeric will stain your hands and nails for a couple hours to days. So use food grade gloves if you aren’t into the bright yellow look. It will also stain your clothes, so don’t wear your finest.
Shop this post

Time
The time it’ll take to make the powder will depend on your preferred method of drying the turmeric. You can oven-dry which takes far less time (2 to 3 hours) or you can use a dehydrator or the sun (both of which will take closer to 8 to 10 hours).
With oven drying, you risk burning the turmeric and destroying important compounds in it. The smell is also incredible and overpowering.
On the other hand, not everyone has access to a dehydrator or 6 to 8 hours of intensely hot sunlight, without the chance of brisk rain showers.
So, your choice in drying method will affect the total time.
How to Make Turmeric Powder: Steps
You’ll want to wear gloves during the initial steps to prevent the turmeric from staining your hands. To be fair, I don’t always use gloves since the color goes away after a couple hand washes (except my nails – it takes a couple days to disappear).
Step 1: Wash the rhizomes
Remove all the dirt from the turmeric. A small, stiff-bristle brush can be used here to remove the dirt and skin from the rhizomes.
Step 2: Peel the rhizomes
Many people don’t peel the turmeric before. Instead, they boil it to kill the microbes on the skin. Boiling also softens and removes the sharp smell from the rhizomes.
I personally don’t boil the turmeric; I feel like boiling will destroy some of its beneficial compounds. Don’t quote me on that though, I have no scientific basis for it.
Instead, I use a vegetable peeler (and a small knife) to peel the rhizomes.

Step 3: Grate
Some slice the rhizomes, but I have found grating them into fine strands speeds up the drying time. It is also easier to grind the dried strands too.
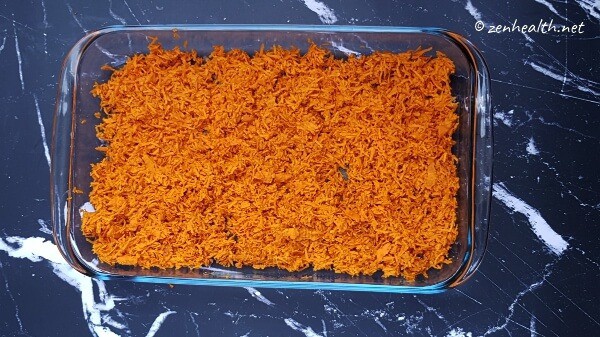
Step #4: Dry
Spread the grated turmeric thinly on a drying sheet or large dish. I like using glass dishes since the dried strands are easier to remove. Stainless steel trays are also good too but you may need to scrape the trays to remove all the strands.
Don’t use plastic trays; the turmeric will permanently stain them.
There are a couple ways to dry the turmeric.
Long but least energy-intensive:
If it is summer or you live in a hot, tropical climate, place the tray in the sun for 6 to 8 hours.
Usually when I use this method, I wash and peel the rhizomes the day before and store them in the fridge. Then, early the next morning, I grate the turmeric and place the strands in the sun.
Be sure to use multiple trays to spread the strands as thinly as possible to let the sunlight disinfect and dehydrate the turmeric.
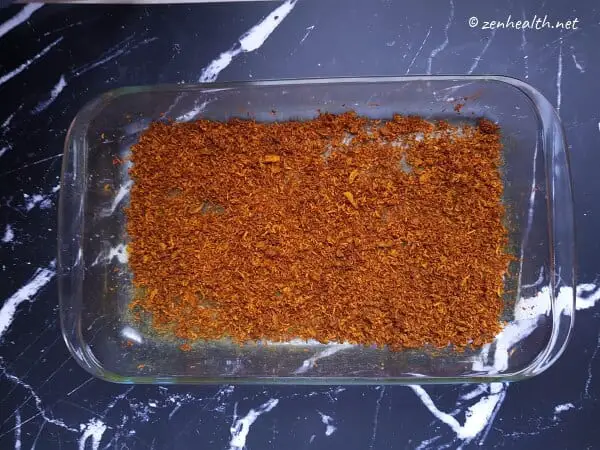
After several, intensely hot hours, your strands should feel crisp and very dry. They are now ready to grind.
Short but very energy-intensive:
If you are short on time, or if you don’t have hot, dry conditions, use your oven.
I usually use a glass dish for this method since the strands do not burn as quickly.
Place the strands in the oven on the lowest setting and bake for 30 – 40 minutes. Vent your kitchen since the smell can be intense. Every 10 – 15 minutes, check the strands and stir to ensure even heating.
After the time, leave the strands in the oven for an hour to slowly cool down and dry out.
If the strands are slightly moist, bake again on low heat for another 20 minutes (stir every 5 minutes). Then, leave the turmeric to come to room temperature in the oven.
The turmeric should be very dry and crisp.
You can also use a dehydrator to dry the turmeric. Follow the instructions for your machine.
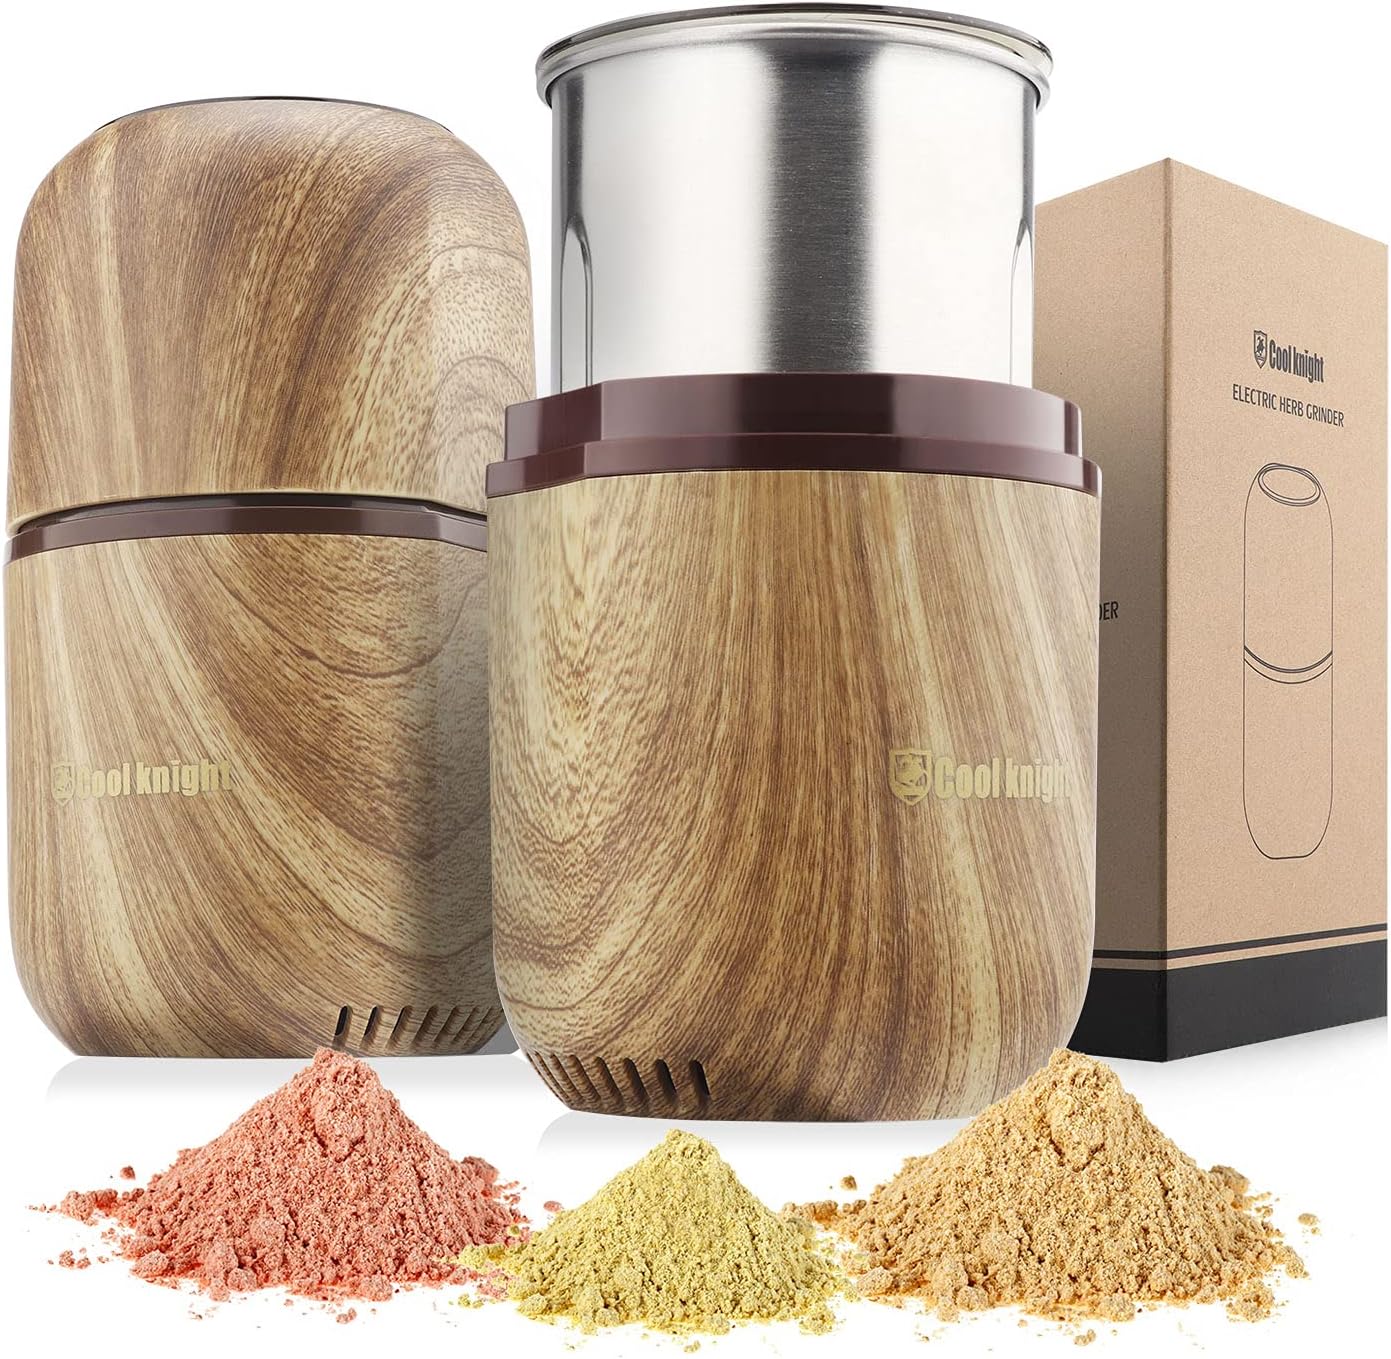
Step #5: Grind
You can use a coffee grinder, food processor or any appliance that will give you a fine, powder consistency. I use a Magic Bullet.
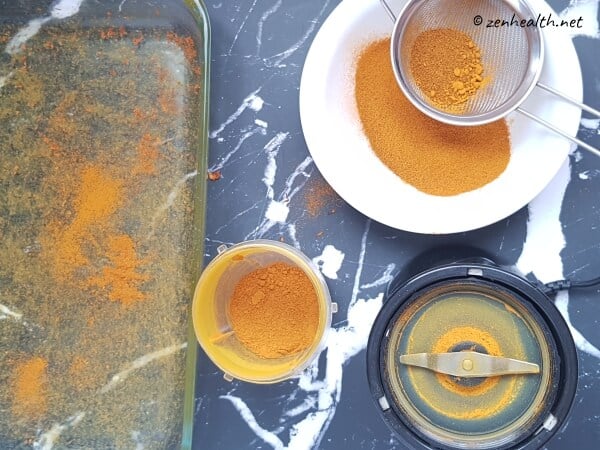
Step #6: Sift and store
Sift the powder and regrind any large bits.
I store the bulk of my turmeric powder in the fridge. You can keep a little (a tablespoon or so) in your spice rack too. It stays well and lasts long. I usually make small batches so it never really goes bad.
Now you know how to make turmeric powder step by step. Pin this for later.
This video short explains it:
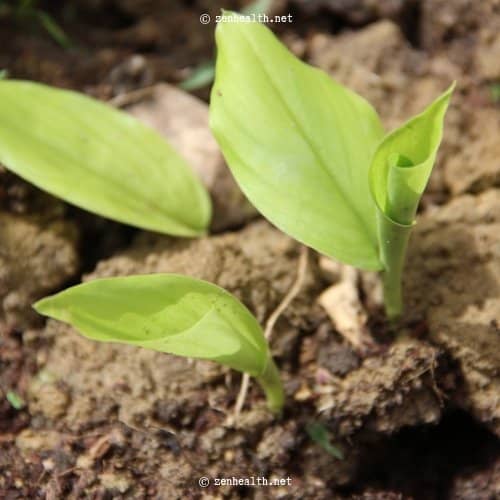
One last thing. It seems I didn’t get all the rhizomes out when harvesting. These little ones popped up a month after. I’ll be making more next year.

Wow I have never thought of doing this and I reguarly use tumeric in cooking. Found this really interesting.
Thank you for sharing.
Alyssa.
Hey, how much (~%) will be wasted when we grind in the form of flying powder!
my coffee grinder is enclosed so there is very little wastage.
Wow this sounds great! I would never usually think to do anything like this but I use turmeric a lot. Great to learn how to make your own. Thanks for sharing x
Sophie
http://www.glowsteady.co.uk
I had no idea you could grow turmeric in a garden, much less that the powder came from the rhizomes, this has been such an interesting post to read! I know what you mean about foodstuffs staining your hands, I have this every year when I make plum jam, damson jam and damson vodka, my hands and nails are brown for DAYS, haha. Loved this post, Ros, thank you for sharing 🙂 x
Lisa | http://www.lisasnotebook.com
ooo damson vodka! I’d love to read about how you do that! Thanks for stopping by Lisa.
xo Ros
Wow, Ros, I always learn something new from you! You have to be really patient to grow turmeric, but what a nice payoff in the end to create something healthy and organic. Very interesting read! Thank you for sharing! 🙂
http://lizzyslatest.com/
Thanks Lizzy! Turmeric is a not a fussy plant haha! Stick the tuber and it grows 🙂
This is so neat! I recently started an herb garden and have been thinking about branching out to other spices. I had mo idea how turmeric powder was made though! Thanks for sharing.
Herb gardens are fun! Rosemary, basil, and thyme are musts!
Ros, what a fun project! I never even considered growing my own turmeric. Now I can’t wait to give it a try. Your tips are super helpful!
Absolutely amazing step by step instructions to make this beautiful and healthy spice. Thank you Ros !