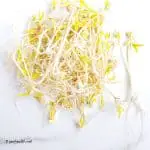
DIY Mung Beans Sprouts: How to Grow Mung Bean Sprouts at Home
Sprouting beans is a great part of a healthy, sustainable lifestyle.
So, I thought I’d share this simple guide on how to grow mung bean sprouts at home.
To grow mung bean sprouts at home:
- soak the beans overnight
- strain
- cover and keep in dark conditions
- water the beans every day
- harvest after the fourth or fifth day.
As an Amazon Associate, this site earns from qualifying purchases.
Why Grow Bean Sprouts?
Beans, like mung beans, are versatile and have a very long shelf life. You can cook them as they are, make stews and soups, and you can sprout them.
That makes mung beans (and beans in general) perfect additions to a zero waste, sustainable kitchen.
Mung bean sprouts are also nutritious. They have good levels of folate, Vitamin C and Vitamin K.
How to Grow Mung Bean Sprouts
1: Use organic mung beans
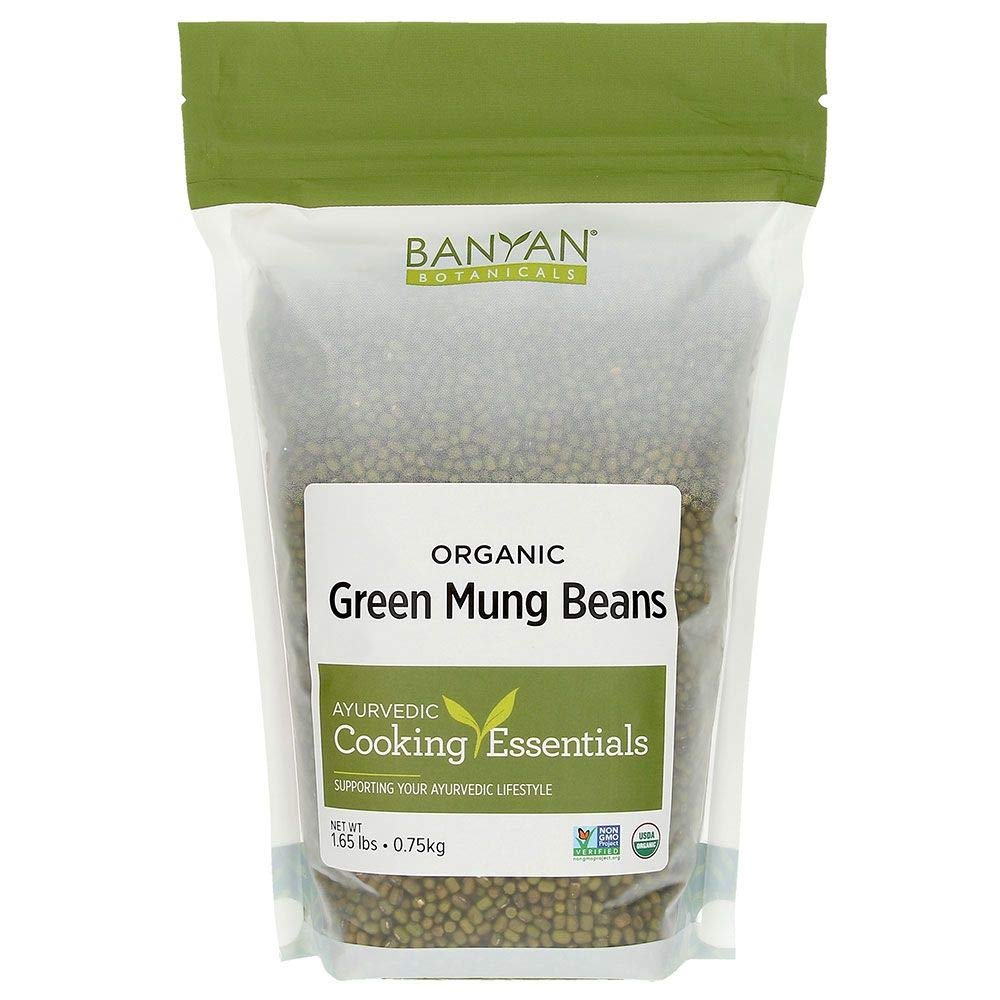
You don’t want pesticides and synthetic chemicals in your sprouts, so use organic mung beans to grow the sprouts.
Banyan Botanicals are great and you can find them on Amazon.
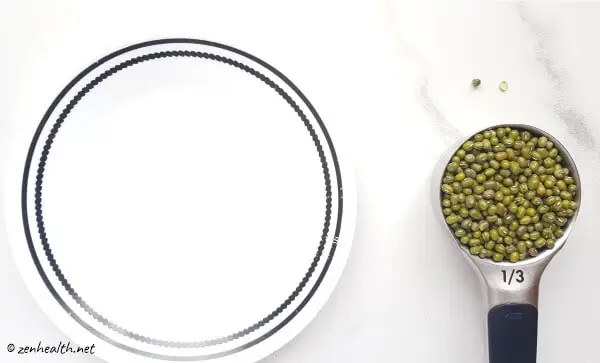
2: Measure the right amount of mung beans
How much bean sprouts do you want? Having an idea of that will help you decide the right amount of beans to sprout.
A third cup of beans will give you close to 10 cups of loosely packed sprouts.
Two tablespoons of mung beans will grow into enough sprouts for a meal for two. Hopefully that will give you a good gauge on the amounts you want to start sprouting.
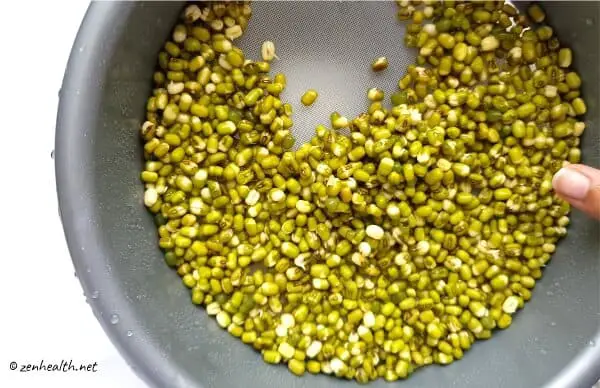
3. Remove bad beans
Remove split, discolored, and ill-formed beans.
Then, add water to the beans. If some float to the top, skim them off. They are bad beans and will cause your sprouts to stink.

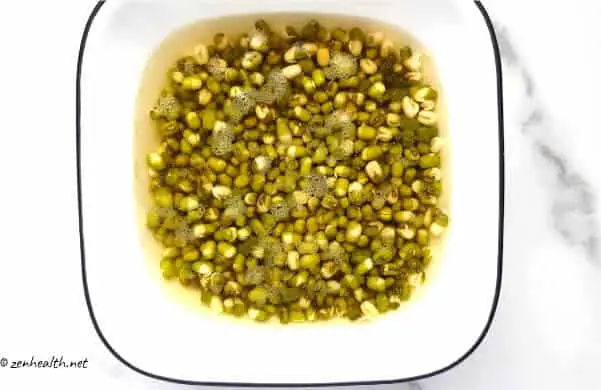
4. Soak the mung beans
Wash the beans thoroughly. Then add them to a clean bowl and completely cover with water.
For a third cup of mung beans, 1 cup of water is sufficient.
Soak the beans overnight – though it’s safe to soak them from 12 to 24 hours. The longer the beans stay soaking, the faster they will grow.
You can actually see sprouts already forming here.
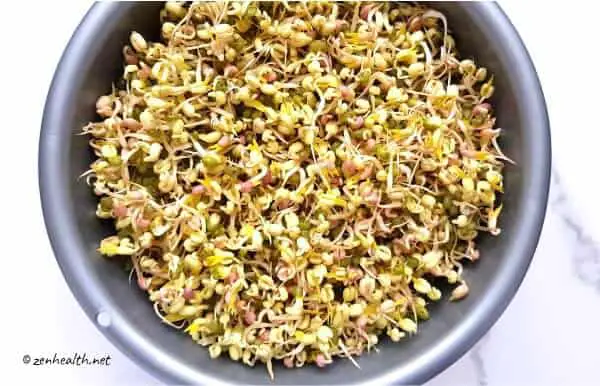
5. Drain and rinse the beans
Once soaked, drain the excess water and rinse the beans multiple times.
They should be triple their original size. Remove any beans that stayed the same size – they are bad beans and will make your sprouts smell awful.
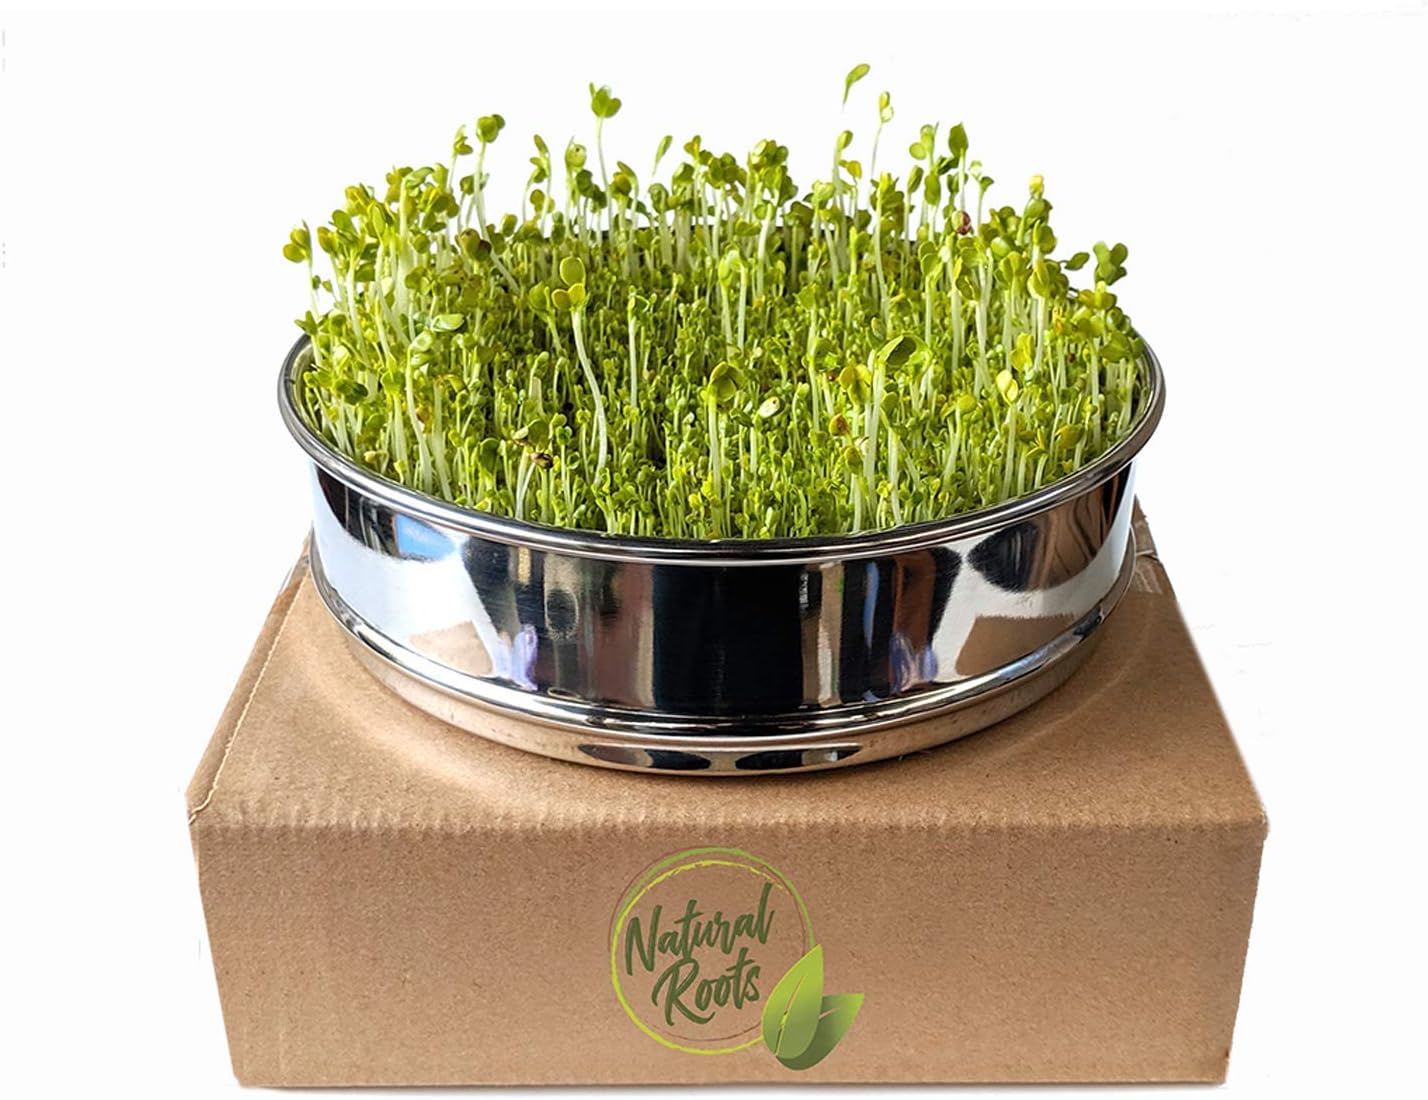
6. Add beans to sprouting tray and cover
Add the soaked beans to a sprouting jar or sprouting tray or even a simple colander. Cover to keep dark to encourage growth.
If you’re looking for sprouting equipment, try these sprouting jars with strainer lids from Amazon.
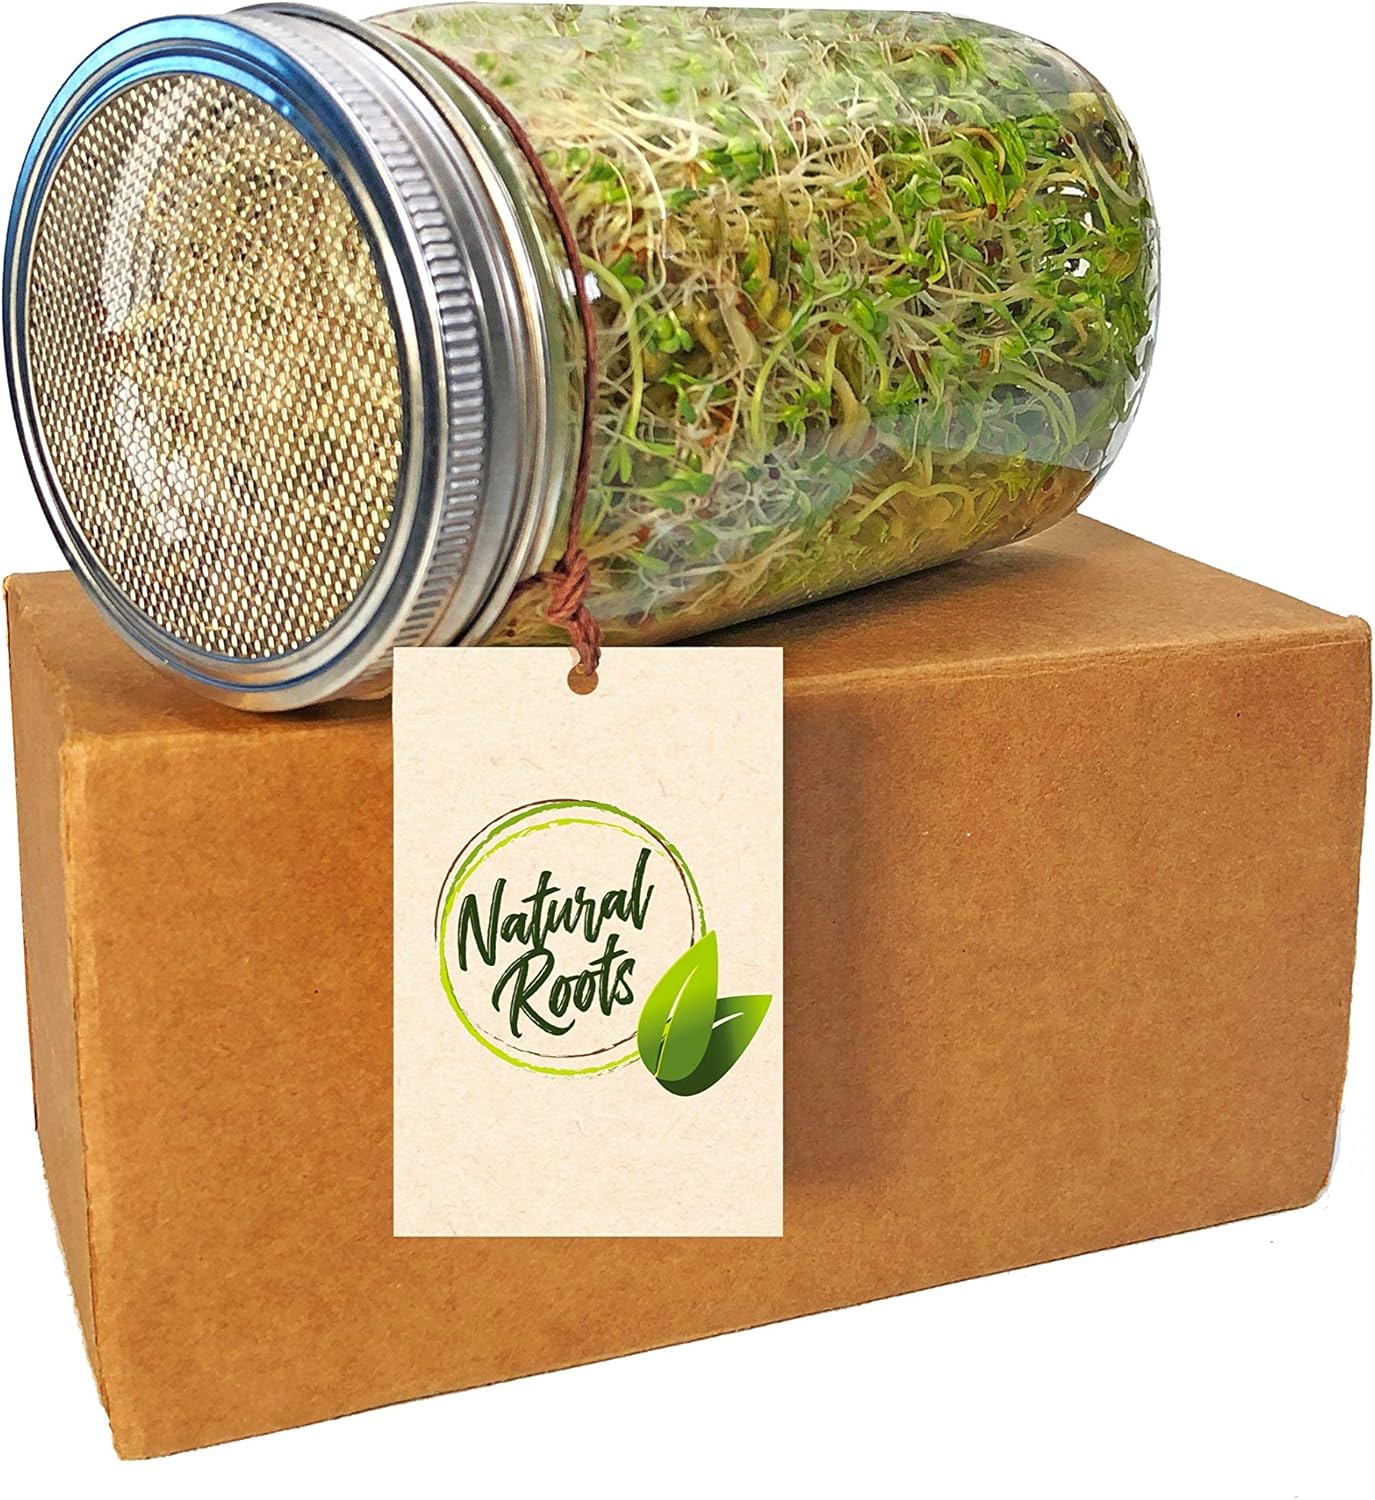
Natural Roots also has a stainless steel sprouting tray that is stackable.
Or use what I normally use – a clean colander with a metal bowl underneath to catch any water that drains through. The colander makes rinsing and adding water to the sprouts very easy and the bowl prevents any mess.
I use a simple black cotton cloth works as a cover for me.
Place your set up in a warm dark spot in your kitchen away from any critters like ants or fruit flies.
7. Add water occasionally
The hard work is now over.
All you have to do now is add water to the sprouts as they grow. They need water to thrive, but don’t overwater.
Why?
Because water also breeds bacteria. So, you don’t want your surfaces and sprouts to be oversaturated. They should drain properly. That’s why I don’t like using paper towels underneath the seeds. It’s not necessary. The sprouts will grow regardless and they will be less likely to develop bacterial films, black spots and mold.
So, it’s ok if your sprouts are a little on the dry side. Yes, they’ll be a little thinner than the store-bought sprouts; but they won’t develop any bad odors.
I add water every four to six hours. Sometimes, it’ll be longer. There is no absolute rule for this. The sprouts will survive if you forget to water it for a couple hours.
Here are the sprouts on day 3 (after 24 hours of soaking, and 24 hours in the colander).

And here’s everything on day 4.
8. Harvest the mung bean sprouts
By the fourth day, you can start harvesting the longer sprouts. Or you can wait a day or two more for the long, lovely sprouts.

That’s it! You now know how to grow mung bean sprouts at home. Actually, now you know how to grow bean sprouts of any type at home – try lentils too!
9. Serve or Store
You can use the sprouts immediately.
Simply wash them with warm water and blanch them in hot water for 15 to 20 seconds. Remove and add them to an ice bath to stop the cooking process.
Serve them as a side dish or mix into your soups, noodles, and other Asian inspired dishes.
Save the sprouts for later too.
Remove from the colander and give them a rinse with warm water, especially their roots. Pat dry with a kitchen towel and store in an airtight container in the kitchen. I try to use the sprouts within 3 days.
If I still have extras after that, I blanch them as I mentioned. After they’ve cooled down, I pop them in the freezer and try to use them within a week or two.
Pin this:

Tips on How to Grow Mung Bean Sprouts at Home
Microbial growth can be a problem when growing mung bean sprouts at home. So, it is very important to minimize and mitigate against out of control microbial growth.
For starters, use clean equipment. Use clean utensils to measure the beans; a clean bowl when soaking them and a clean colander or sprouting jar.
Next, be sure you use safe, potable drinking water when soaking the beans, rinsing them and watering the sprouts. If your tap water is not safe, use filtered and boiled water.
Your sprouting jar or colander should not accumulate water. If the sprouts and their roots sit in water for hours at a time, you may see specks of black growth on the tiny sprouts (they’ll begin to smell). That’s why it is important to let the water drain properly and empty the bowl under the colander (the roots can be really long by the third day!).
If there are lots of black specks, you may want to discard the sprouts and start over with a smaller batch. I’ve chucked some in the garden before – I won’t risk getting food poisoning and neither should you.
Try Small Batches
Starting with a small batch – maybe two tablespoons of the seeds – is great for beginners. In that way, the sprouts will be well spaced out and you’ll quickly notice any discoloring or odor.
Oh and be sure to use organic seeds too!
That’s it! Have you ever tried to sprout mung beans at home? I’d love to hear about it and any tips you have!
More How To Tutorials
DIY Mung Beans Sprouts: How to Grow Mung Bean Sprouts
Equipment
- sprouting jar or sprouting tray or simple colander
Ingredients
- ⅓ cup green mung beans (organic)
- 1 cup clean water
Instructions
- Remove split, discolored, and ill-formed beans.
- Add water to beans.
- Skim off floating beans.
- Rinse.
- Cover with water and leave to soak overnight.
- Drain and rinse multiple times
- Add soaked beans to a sprouting jar or sprouting tray or colander.
- Cover and set in a cool, dark space.
- Add water to beans every 6 to 8 hours. Allow water to drain freely.
- Repeat watering for 3 to 4 days.
- Remove sprouts from jar or tray or colander.
- Wash sprouts in warm water.
- Blanch them in hot water for 15 to 20 seconds.
- Remove and add them to an ice bath to stop the cooking process.
- Serve immediately or refrigerate.


Excellent article
I always wanted to try this. Your article is really detailed thanks for documenting the pictures are very helpful as well!
Thanks so much! Hope you do try it and share your experiences 🙂
Thank you so much for this reminder ! I already have a sprouting jar and it is really so healthy and budget friendly to make our own healthy food !! 🙂
Indeed! Keep well my friend 🙂